

I made the box and cover with just 4 pieces of 12x12 cardstock plus some paperscraps for embellishing.
Here's what you need to make one for yourself:
Materials needed:
The box is made from only 4 pieces of 12x12 cardstock. The embellishing is paperscraps I had from other projects.
The Box itself:
Take 3 sheets of cardstock colors of your choice for the box and trim them as follows:
Piece #1 - Leave this piece 12" x12". This will be the outside of your box.
Piece #2 - Take the next piece of cardstock and cut it to 11"x11". This will be your middle layer.
Piece #3 - Take the last piece of cardstock and cut it to 10"x10". This will be your inside layer.
Lid of Box - All instructions say to cut this piece 8"x8" but I cut mine a little smaller, 7.5" x 7.5" so that more of the sides of the box can show.
You will score 4 sides of each piece. The measurements are as follows:
- Outside layer (12x12), score 4" in on each side. You will have 9 squares measuring 4" each.
- Middle layer (11x11), score 3.75" in on each side. You will have 9 squares measuring 3.75" each.
- Inside layer (10x10), score 3.5" in on each side. You will have 9 squares measuring 3.5" each.
Example - Layer #1 (12x12) - score as shown:

** The dotted lines are scored, not cut **
Next, Cut out the corners from all 3 sheets. They should look like the diagram below when they are layered on top of each other

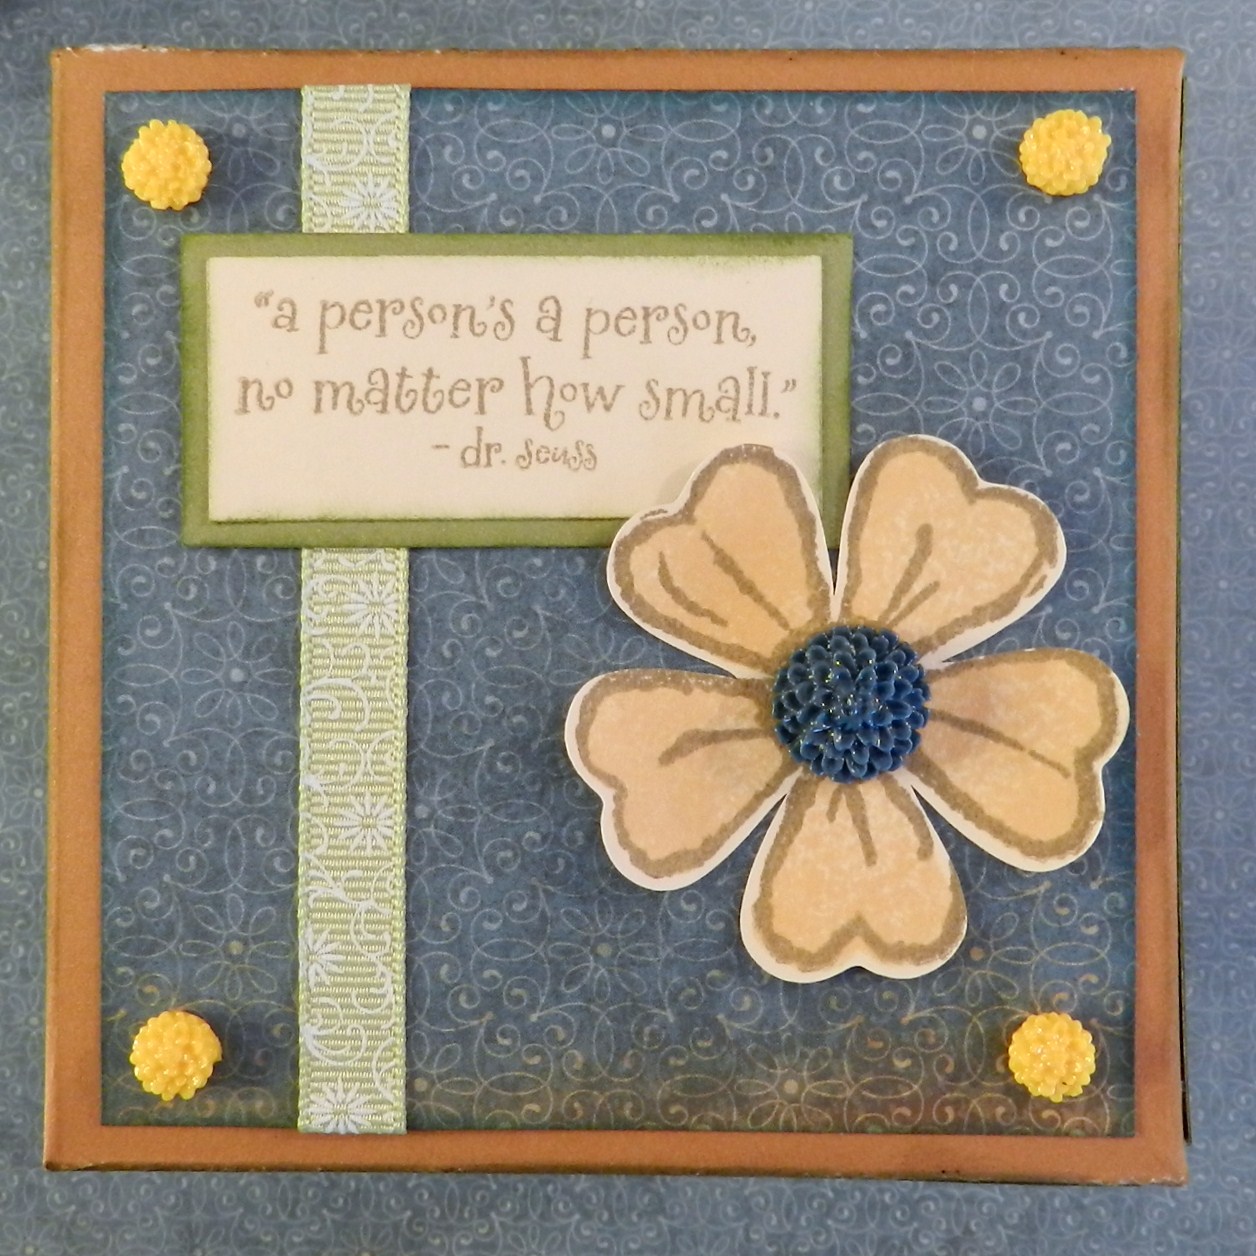
Now you can embellish each of the four side panels on all three sheets as you wish. I embellished both sides of each panel but you can do just the top sides if you'd like. Be creative - make mats for photos, create pockets for tags, stamp images, use ribbon, brads, sparkles, buttons, etc. Adhere the bases together when you have finished embellishing the box.
The Top:
As I mentioned, I made the last piece of cardstock for the lid to 7.5"x7.5" so that more of the box shows. Score folds similar to the others but only 2" from each side. Do not cut the corner squares on this piece. Score 4 more diagonal folds as shown in the diagram below. Fold each corner up and adhere to the side to form the lid. Embellish as desired.

**Note - I embellished the top before I folded and glued it together **
The finished Exploding Box


Love it Patti! I've made one of these before and I know that I will be making more!
ReplyDelete~Michele~
chelescrafts.blogspot.com
Great job!! This is gorgeous!!!
ReplyDeleteVery cool and thanks for the directions !
ReplyDeleteGreat project and great directions!
ReplyDeleteAwesome tutorial. I love exploding boxes- we actually made a set of miniature ones for my brother's rehearsal dinner. We printed the pages with pictures of them and then cut them into the boxes.
ReplyDeleteBeautiful!!!
ReplyDelete